You will need some information from you Magento admin page. This usually can be found at https://magento.yourshop.co/index.php/admin
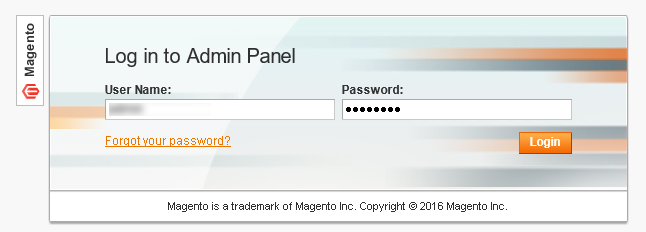
Once at your site you will have the log in panel. Input your login details.
Once logged into your site go to the of the page and click on system. Once you are in Apps look to the top right of the page and find the private apps button and click on it.

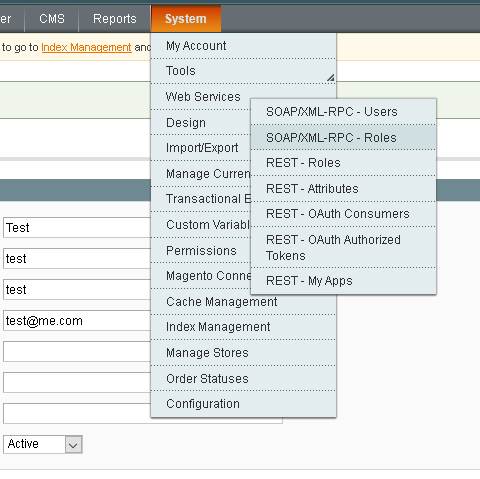
Go to system> Web Services> SOAP/XML-RPC-Users
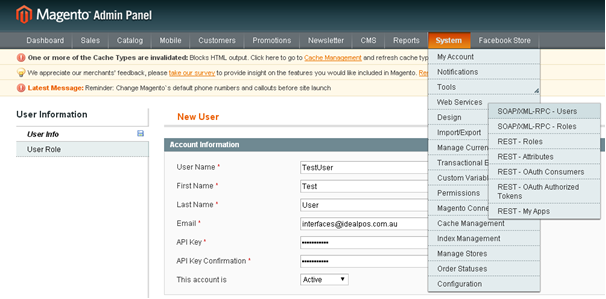
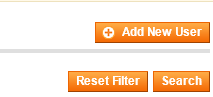
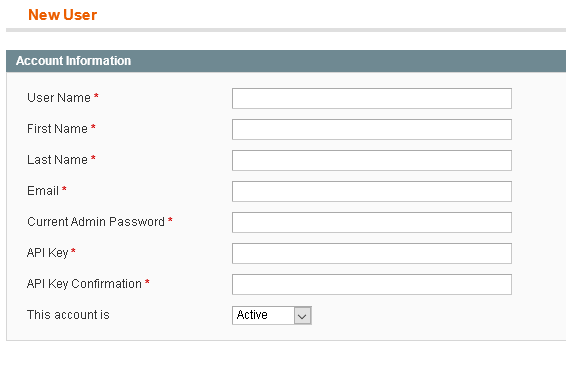
On the right-hand side of the panel click on Add New User.
Enter your details into the Account Information.
Go to System > Web Services > SOAP/XML-RPC-Roles
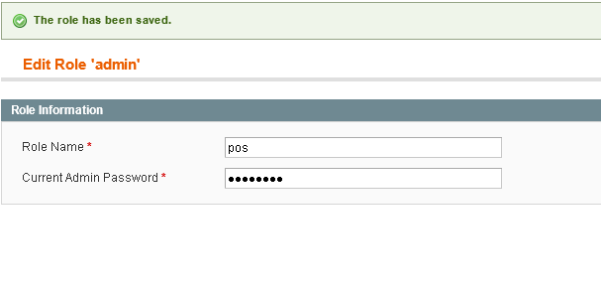
Enter a name (i.e. POS ) and then select Role Resources.
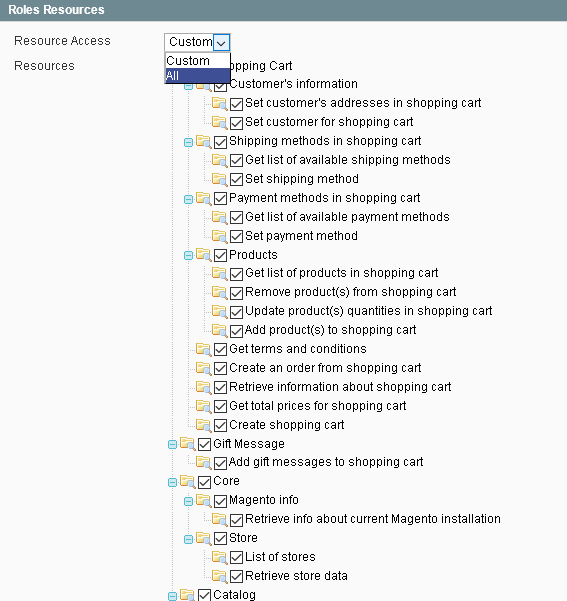
Drop down the Resource Access box and select all.
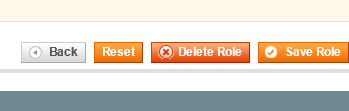
On the right-hand side of the panel click save.
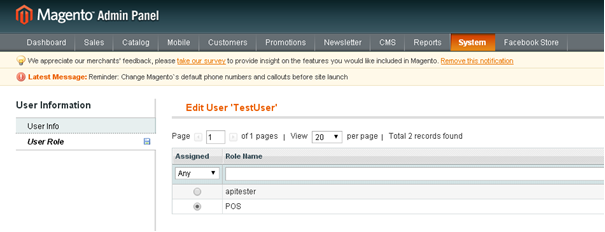
Go back to System > Web Service > SOAP/XML-RPC-Users. Select User Role tab and Assign the Role you created
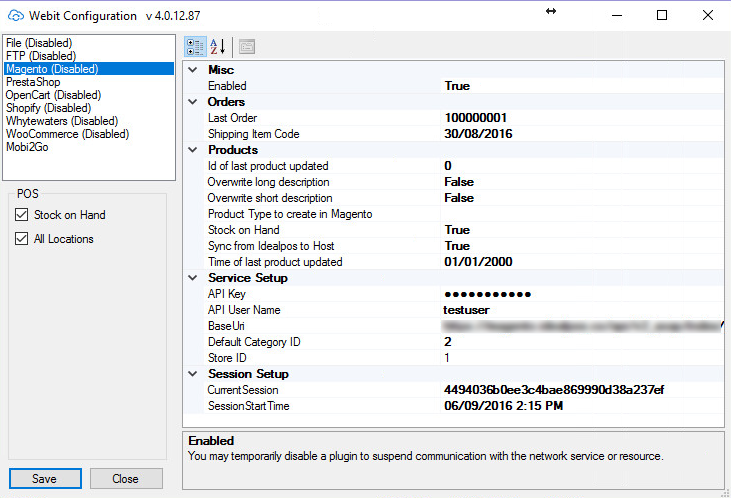
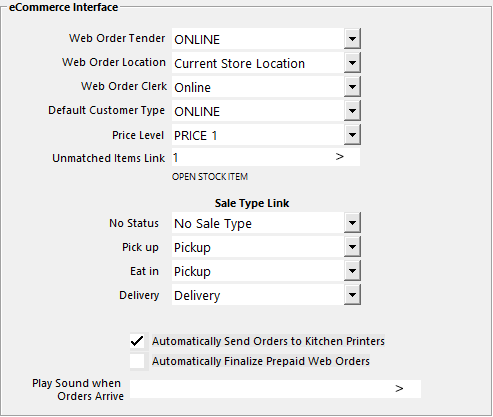
The other options you have to configure in the WebIT configuration are as follows:
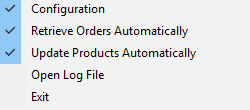
When you click on the WebIT icon you will also see RETRIEVE ORDERS AUTOMATICALLY which needs to be set to TRUE to retrieve orders from the site enabling them into Idealpos.
UPDATE PRODUCTS AUTOMATICALLY will sync the selected stock items you have previously ticked web store with stock item description cost and stock levels once you have created the stock items on the site.
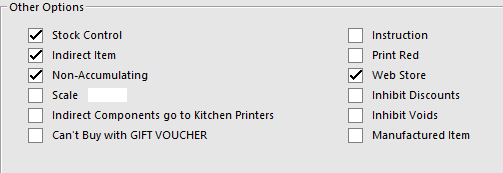
Under global option under the tab INTERFACES you will find the web ordering via ideal WebIT configuration panel choose what options you will need for your setup.

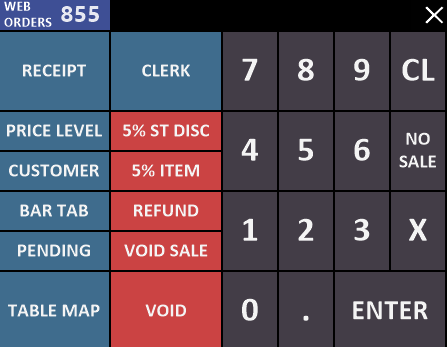
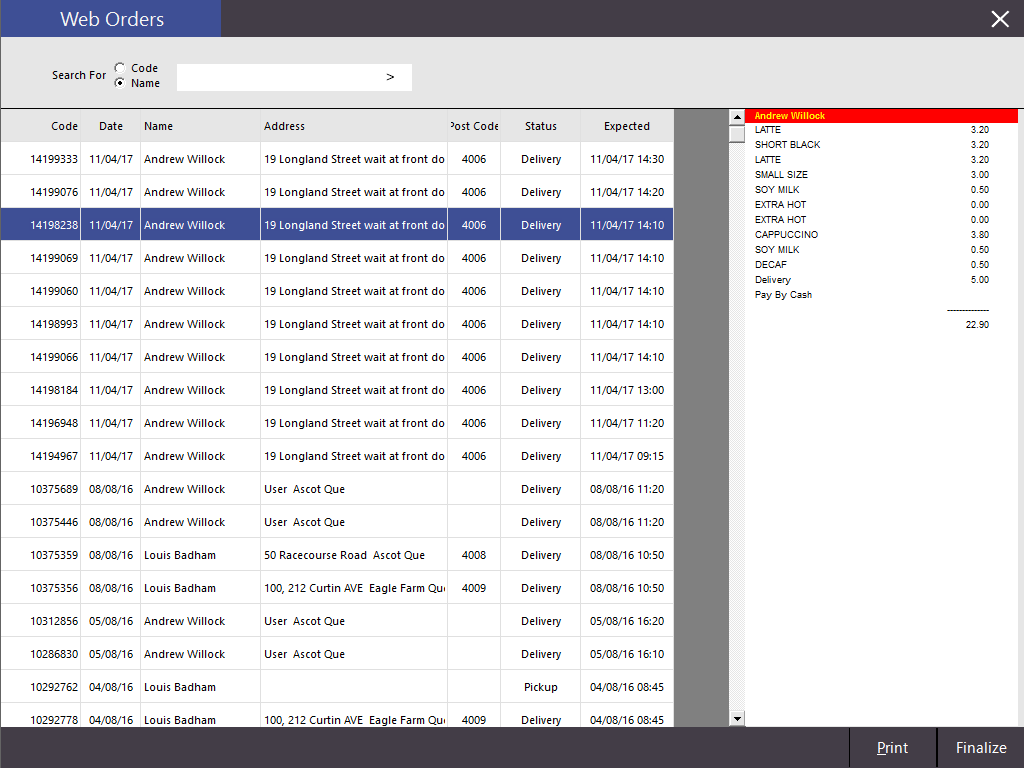
When the web order is received in Idealpos you will see the web orders button appear at the top of the POS screen. Click on it to access the pending web orders.
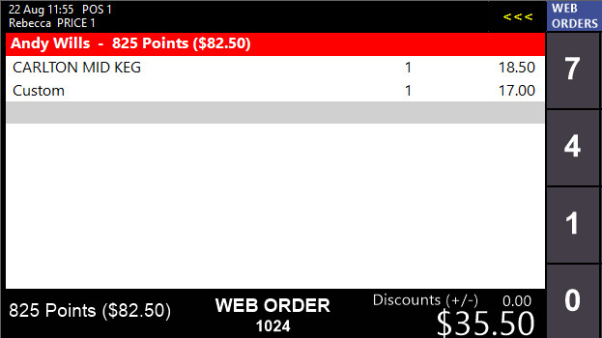
Once in the web orders screen you can see the web order that is waiting to be finalized. The code represents the web order and flows through the complete order from WebIT to POS to receipt.
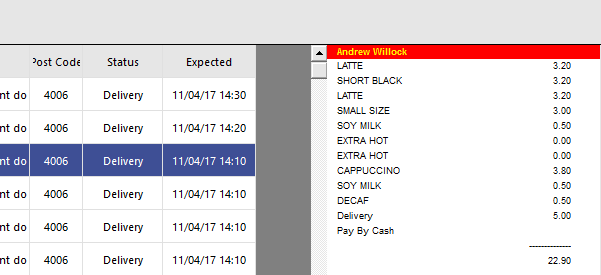
By clicking finalize this will bring the order into POS with its matching web order number to keep track of the order.
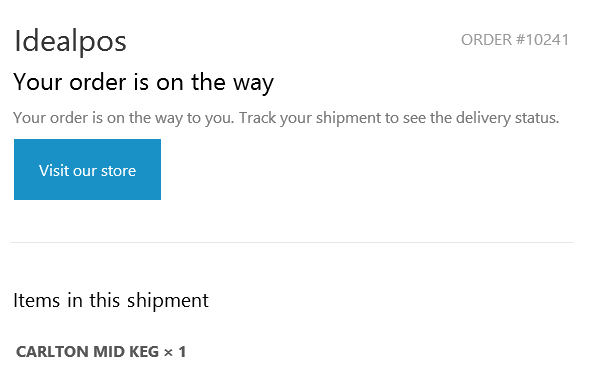
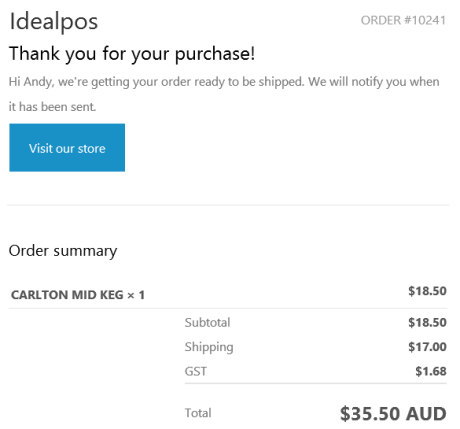
The client will receive an email similar to this and when the items are shipped they will receive an acknowledgment email of the order being shipped.
When payment is received, the order is brought into the POS screen to be finalized with matching web order codes.
In Idealpos v7 only we have added a print button in the WebIT window that will print a sales invoice.
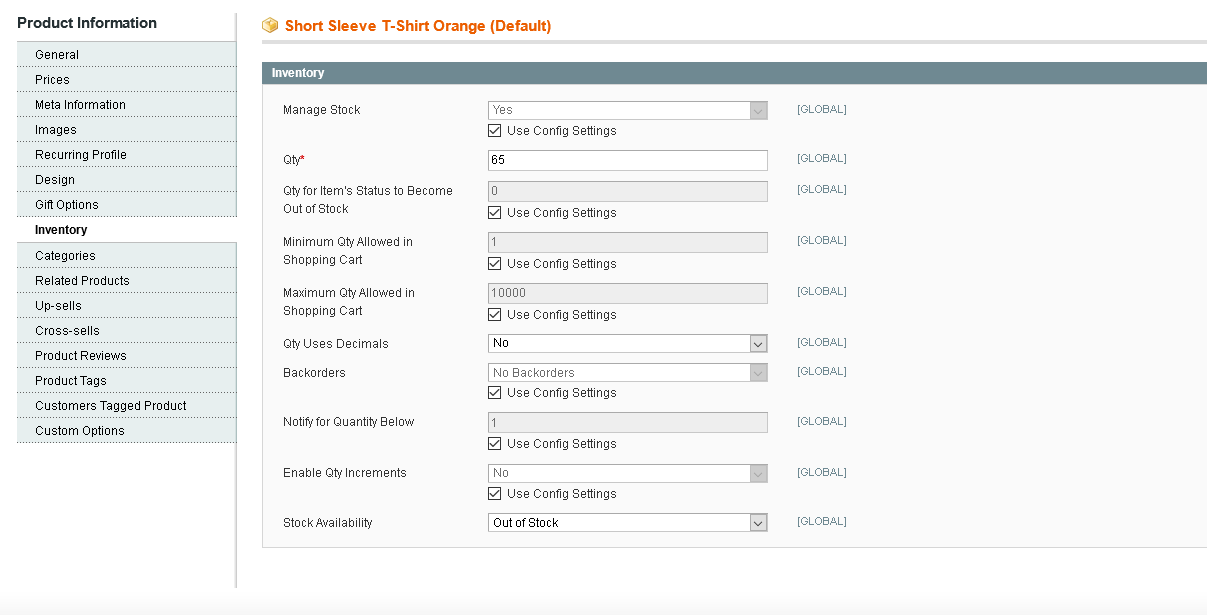
Stock control from the POS system to the website will be working at this stage but the site need to be told not to manage the stock levels.
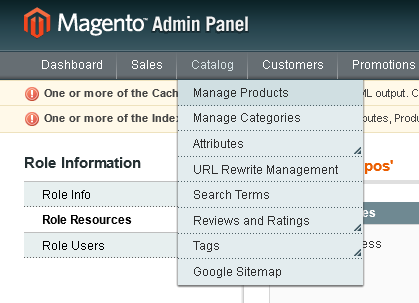
Click on catalogue and the Manage Products
Here in the products page you can see the information on your stock items including stock levels.
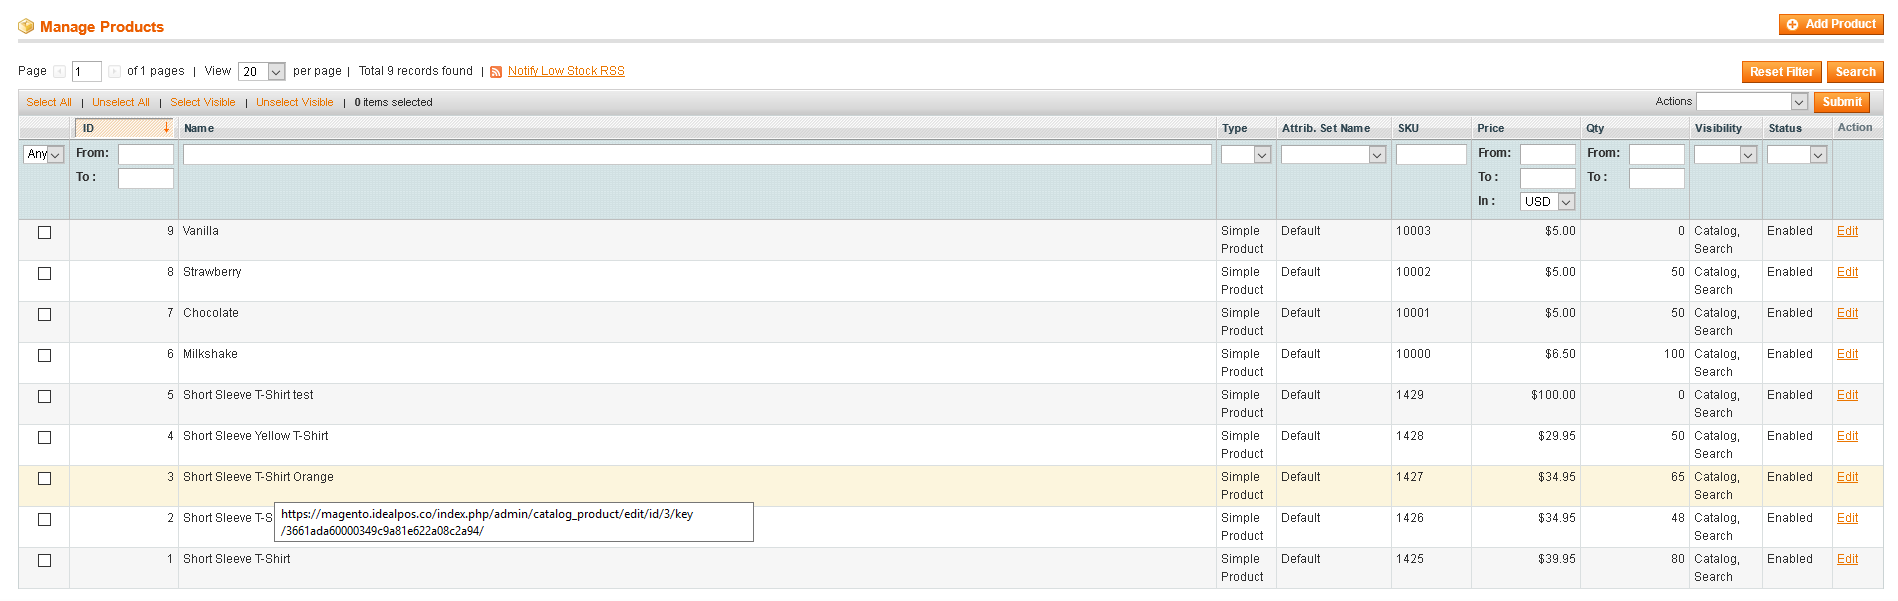
Simply click on your stock item and go to Inventory on the left-hand side. At the top you will see Use config settings which by default is ticked you want to un-tick this option and then click save in the right-hand side of the page. This will then enable POS to handle the stock levels.